Summary: If for whatever reason you need to convert Panasonic DMC-G7 4K MP4 footage for editing in NLEs such as Premiere Pro, you may wish to read this post. It introduces a simple and small app to transcode DMC-G7 4K MP4 video to an intermediate codec that is suitable for use in Premiere Pro.
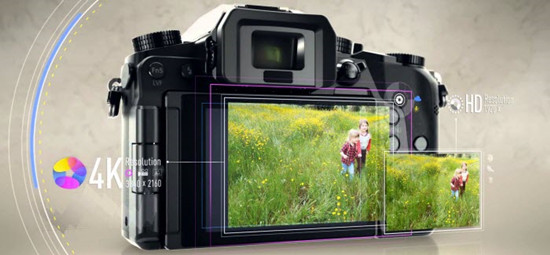
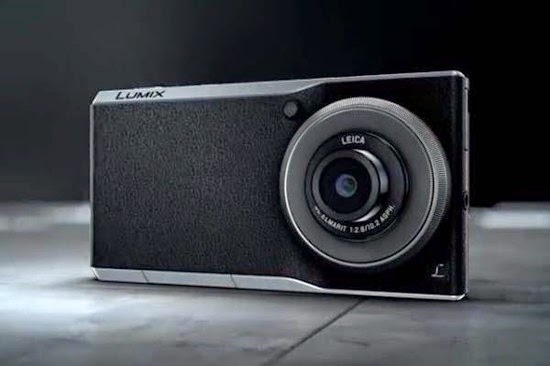
Panasonic has introduced the G7 to replace the G6, and it sits just below the Panasonic GH4–but alongside the GX7. That's a lot of G numbers, but basically, the G7 is the company's mid-range compact system camera. Formerly the preserve of professional filmmakers and photographers, LUMIX G7 is opening up the world of 4K to everyone. Whether you're making movie memories to last a lifetime, or taking amazing stills from your 4K footage, the G7 is changing photography, for good.
With Panasonic Lumix DMC-G7, you can record 4K MP4 video and Full HD AVCHD video easily. 4K footage looks amazing but if you don’t have a fast computer with a high end RAM and speedy processor it can make video editing a real nightmare. Your computer may freeze or crash when editing G7 4K MP4 in Premiere Pro.
As far as we know, the latest version Premiere Pro CS6, CC usually can handle 4K files without much problem, but it is extremely hardware intensive. What's more, the older version Premiere Pro CS4/CS5 are not able to support 4K video. Thus, you can't get a flawless 4K workflow in most cases.
Thankfully you probably don’t have to buy a new computer, but you do need to convert G7 4K MP4 to a format that is suitable for use in Premiere. The process is surprisingly easy and can be done with the help of Pavtube Video Converter for Mac. With it, you can effortlessly encode/re-encode Panasonic G7 4K MP4 footage for smoothly importing and editing in various non-linear editing systems, including Adobe Premiere Pro, Avid Media Composer, Final Cut Pro, iMovie, FCE and more. If you work Panasonic G7 4K MP4 files in Premiere Pro on Windows, please get Pavtube Video Converter.


How to edit Panasonic DMC-G7 4K MP4 in Premiere Pro on Mac?
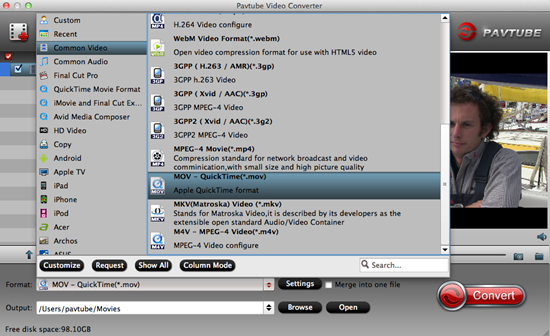
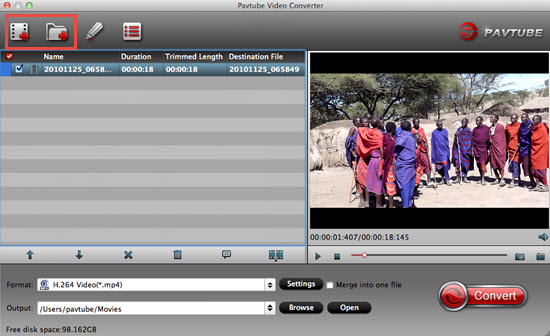
Step 1: Download and have a quick installation. The trial version will have a watermark on your converted files. Except for that, there are no time limitation, no virus, and no unnecessary bundle apps while downloading. After that, click “Add Video” button to load your 4K MP4 files. You can load several files at once thanks to “Add from folder” button.

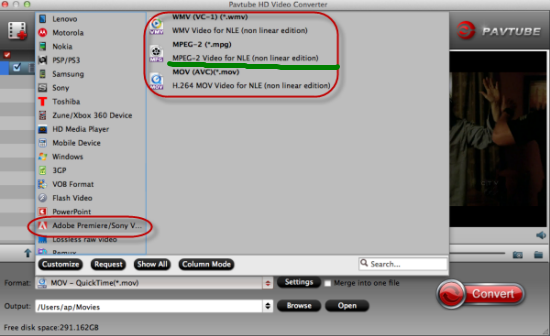
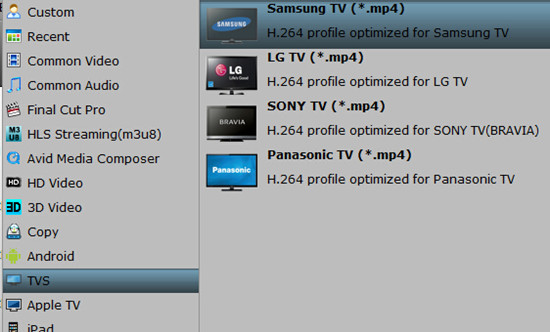
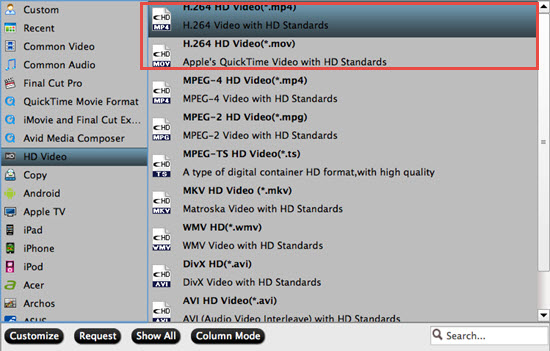
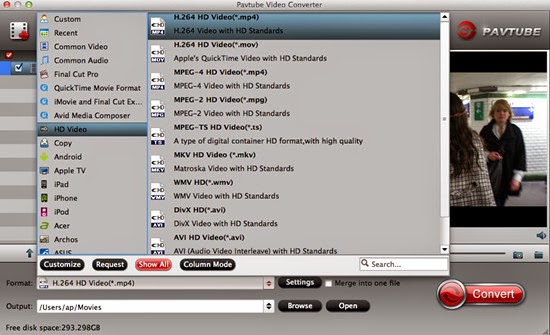
Step 2: Click the “Format” bar to get the drop-down menu and you can get “Adobe Premiere/Sony Vegas”. Choose “MPEG-2 (*.mpg)” as output format.

Step 3: It’s optional to edit video files before converting. If you want to do some edit work, just hit the clip first, and then click “Edit selected task” button. As it’s shown to us, the edit function is sufficient for you to make your videos wonderful.
Step 4: Click “Convert” button on the bottom of the screen to start 4K MP4 to MPEG-2 MPG conversion process. The amount of time it takes will vary based on your system’s hardware and the quality settings you selected.
Conclusion: When the conversion is done, you can click “Open” button to get the generated video files. Now, you can edit Panasonic DMC-G7 4K MP4 in Premiere Pro freely. If you think this article is helpful, you can share it with your friend.
Further Reading:
- Convert Sony HD1550 XAVC 4K Video to QuickTime for Playing
- 4K to iMovie: Import DJI Inspire 1 4K Footage to iMovie for Editing
- How to Convert MXF Files to YouTube for Uploading and Sharing on Mac Yosemite?
- Convert Sony HD1550 XAVC 4K Video to ProRes for FCP X Editing
- Convert Ikegami HDS-V10 MXF to Sony Vegas Pro for Editing
- Convert Sony Videos to Windows Media Player on Windows 10/8.1/8
- Convert Sony HX90/HX90V XAVC S to FCP X for Editing