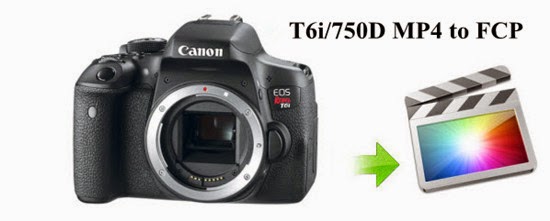
Where are your videos from? In nowadays, most videos are from cameras or camcorders. Maybe there are still videos from phones or other devices, but cameras and camcorders are the best choice when capturing. With the memory card, much information could be stored. But there is only one problem that different camcorders record videos in different formats. For example: most HD camcorders now could capture AVCHD files in MTS or M2TS format, some camcorders could capture MOV and MP4 files while some JVC camcorders capture TOD and MOD videos. How to handle these videos in various formats in iMovie?
Not all the formats could be accepted by iMovie. Actually, MOV is the best choice for iMovie editing. That's totally because iMovie could read MOV directly without any problems or rendering. Of course, you can import videos to iMovie for editing with the help of third-party software. But how?
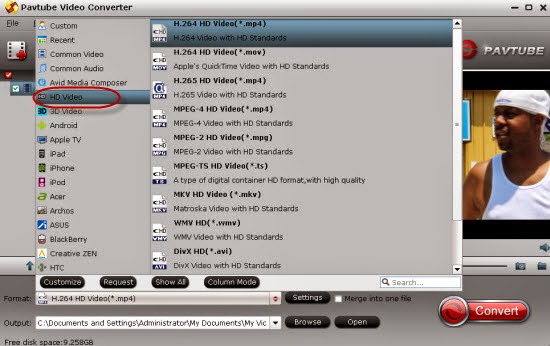
Tips: iMovie/FCE supported video formats
Pavtube HD Video Converter for Mac is what you need. Compare with many other such video conversion tools, you will find this software is much powerful. Conversion could be easily achieved, but to keep the high quality will be much more difficult. Most such tools will supply new videos with much quality loss, but never will this HD Video Converter for Mac. It could easily help to transcode the videos to any other format you want, of course including AIC MOV for iMovie.


Tutorial on importing videos to iMovie for further editing:
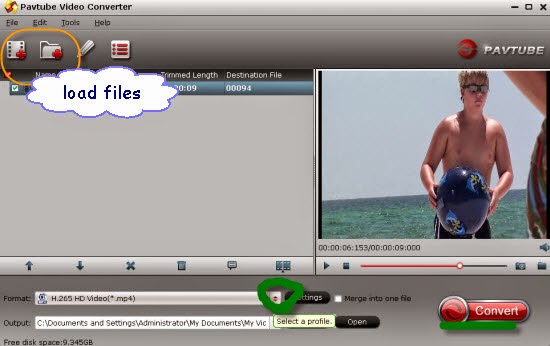
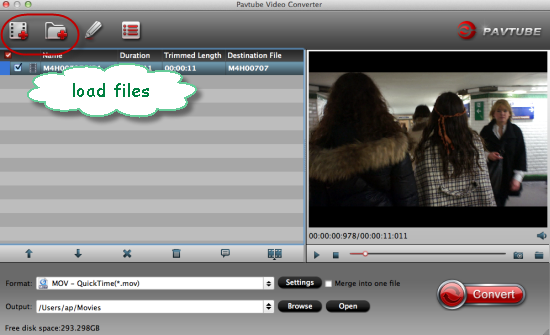
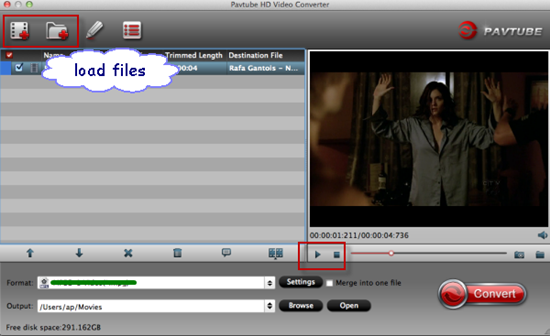
Step 1: Launch the HD Video Converter on your Mac, and then click the “Add video” button to import your videos directly. In order to import several files at one time, you can click “Add from folder” button.
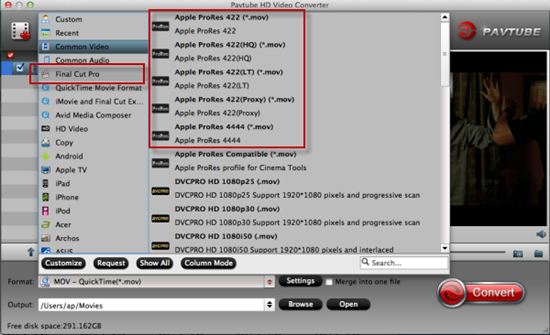
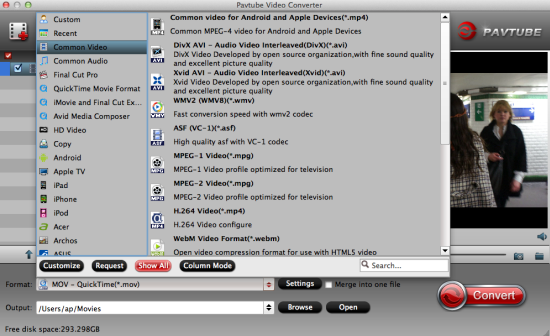
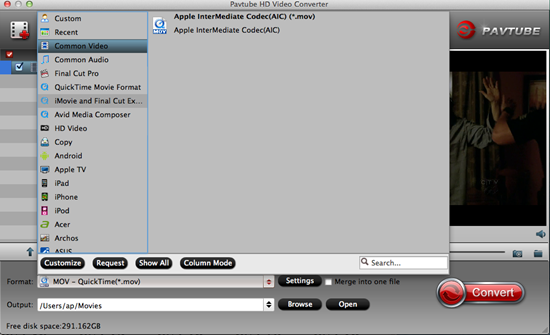
Step 2: Click the “Format” bar to get the drop-down menu and you can get “iMovie and Final Cut Express>>Apple InterMediate Codec (AIC) (*.mov)” as the best output format.
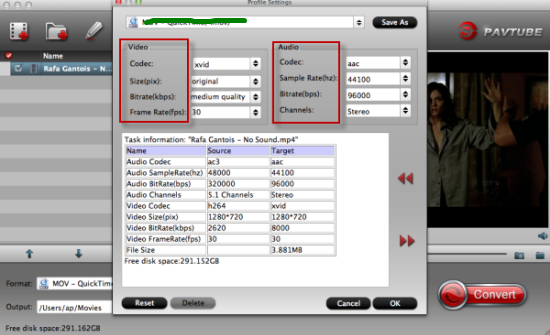
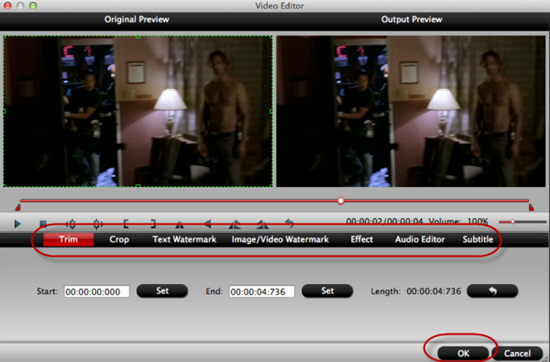
Step 3: The built-in editing function provided by Mac HD Video Converter is something worth trying. To trim the video, add artistic effects, adjust audio, add watermark, customize video parameters and so on. You can get the work done splendidly. Of course, if you don’t think it’s a necessary to do, you can skip it and move onto the next step directly.
Step 4: Now, click "Convert" and let it go. This HD Video Converter for Mac supports batch conversion. So if you have lots of videos to convert, check “Shut down computer after conversion” and you can go away without keeping an eye on it.
Conclusion: Once the conversion process shows in 100%, click “Open” to get the output videos. Now, you can edit videos in iMovie with light speed. The newly released Pavtube DVD Creator for Mac program makes DVD creation much easier than ever before. It lets you burn any kind of video sources to playable DVDs within a few clicks.
Further Reading:
- Transcode Canon 5D Mark III MOV to iMovie AIC for Editing: Canon 5D3 is one of the hottest DSLR this year, it's the main competitor to Nikon D800, 5D3 not only gives us high quality images, but also give us vivid full HD videos.
- From Blackmagic 4K to ProRes and DNxHD? Blackmagic Video Converter: From Blackmagic 4K to ProRes and DNxHD codec footage for editing in different NLEs? I have to admit that the idea is correct and cool!
- How to Load H.265 (HEVC) Videos to iTunes 12/11 on Windows 8.1?: At present, the hottest codec must be the H.265/HEVC. For users, it is great to enjoy the better video quality of H.265 while only with half of file size, which totally free the local disk space and not drop down the quality.